Silva + Havens are proud to be one of 10 winning designs of the 2023 City of Tucson ADU Design Competition. The 10 winning designs will be added to a list of pre-approved plans available for commission by the public.
1. Design Narrative
2. 3D Views
3. Plans, Sections, and Elevations
4. Variation Plans - Studio
5. Variation Plans - 2 Bed / 1 Bath
6. Materials, Composition, & Process
7. Contact
1.
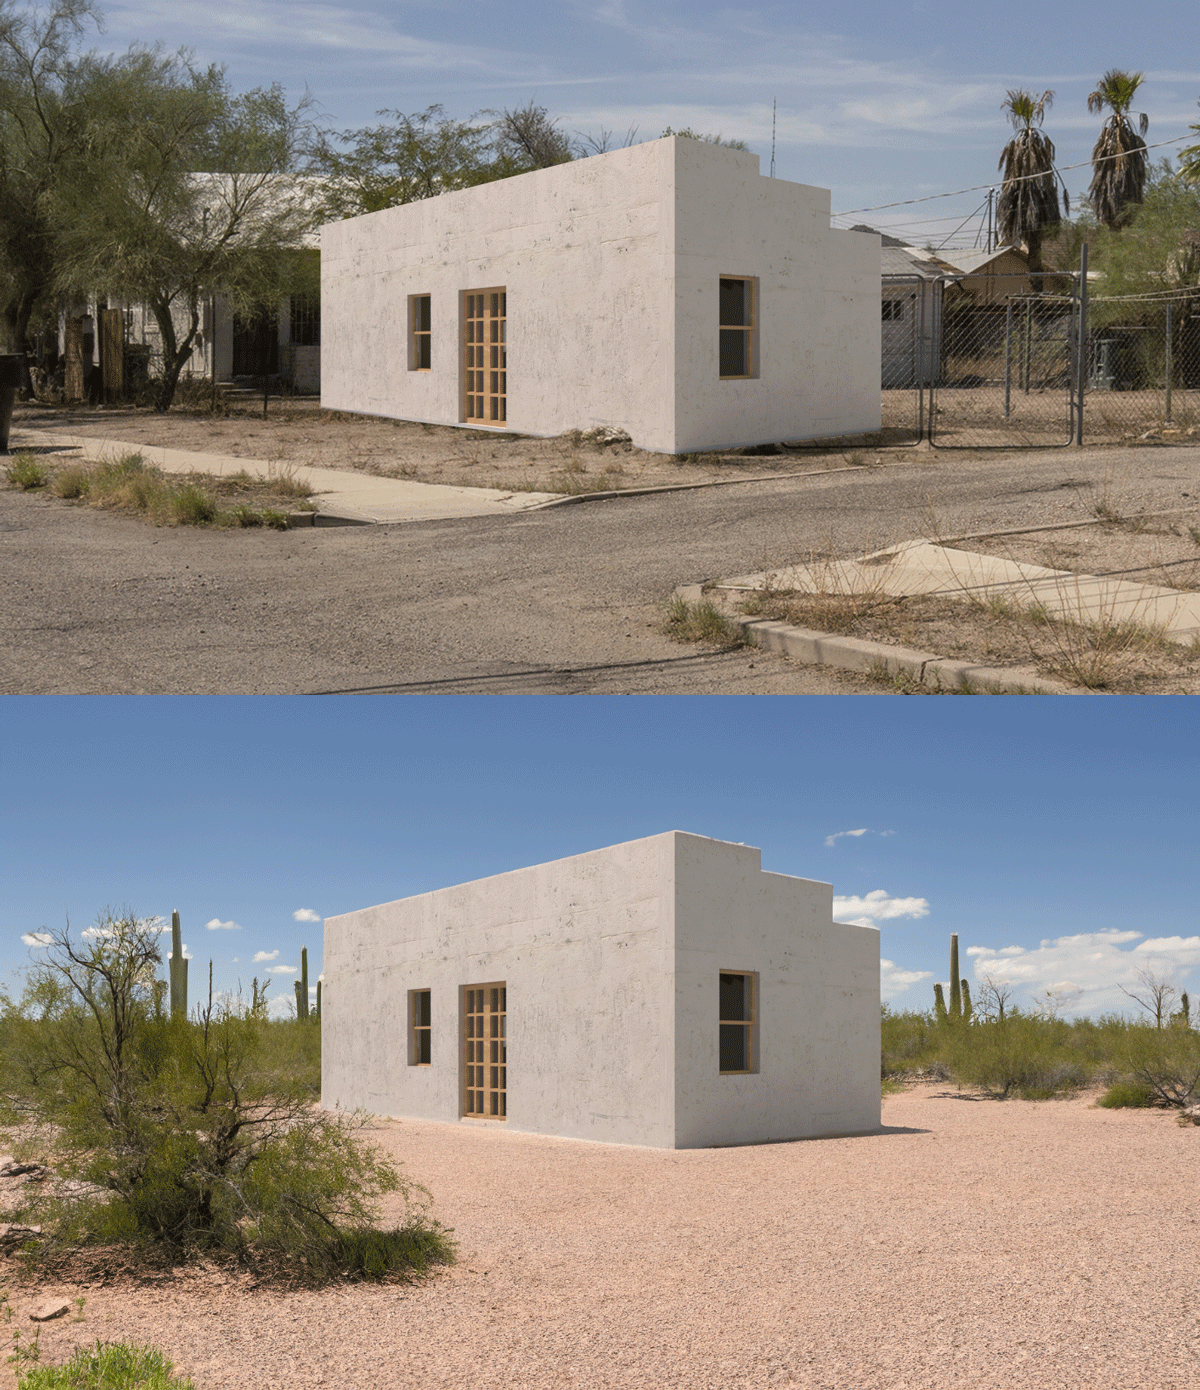
There is a specific substance, quality of light, and simplicity to Tucson’s historic buildings. It has always been a city with limited resources and a simple vernacular, and those limitations have created an honest and beautiful collection of buildings and neighborhoods.
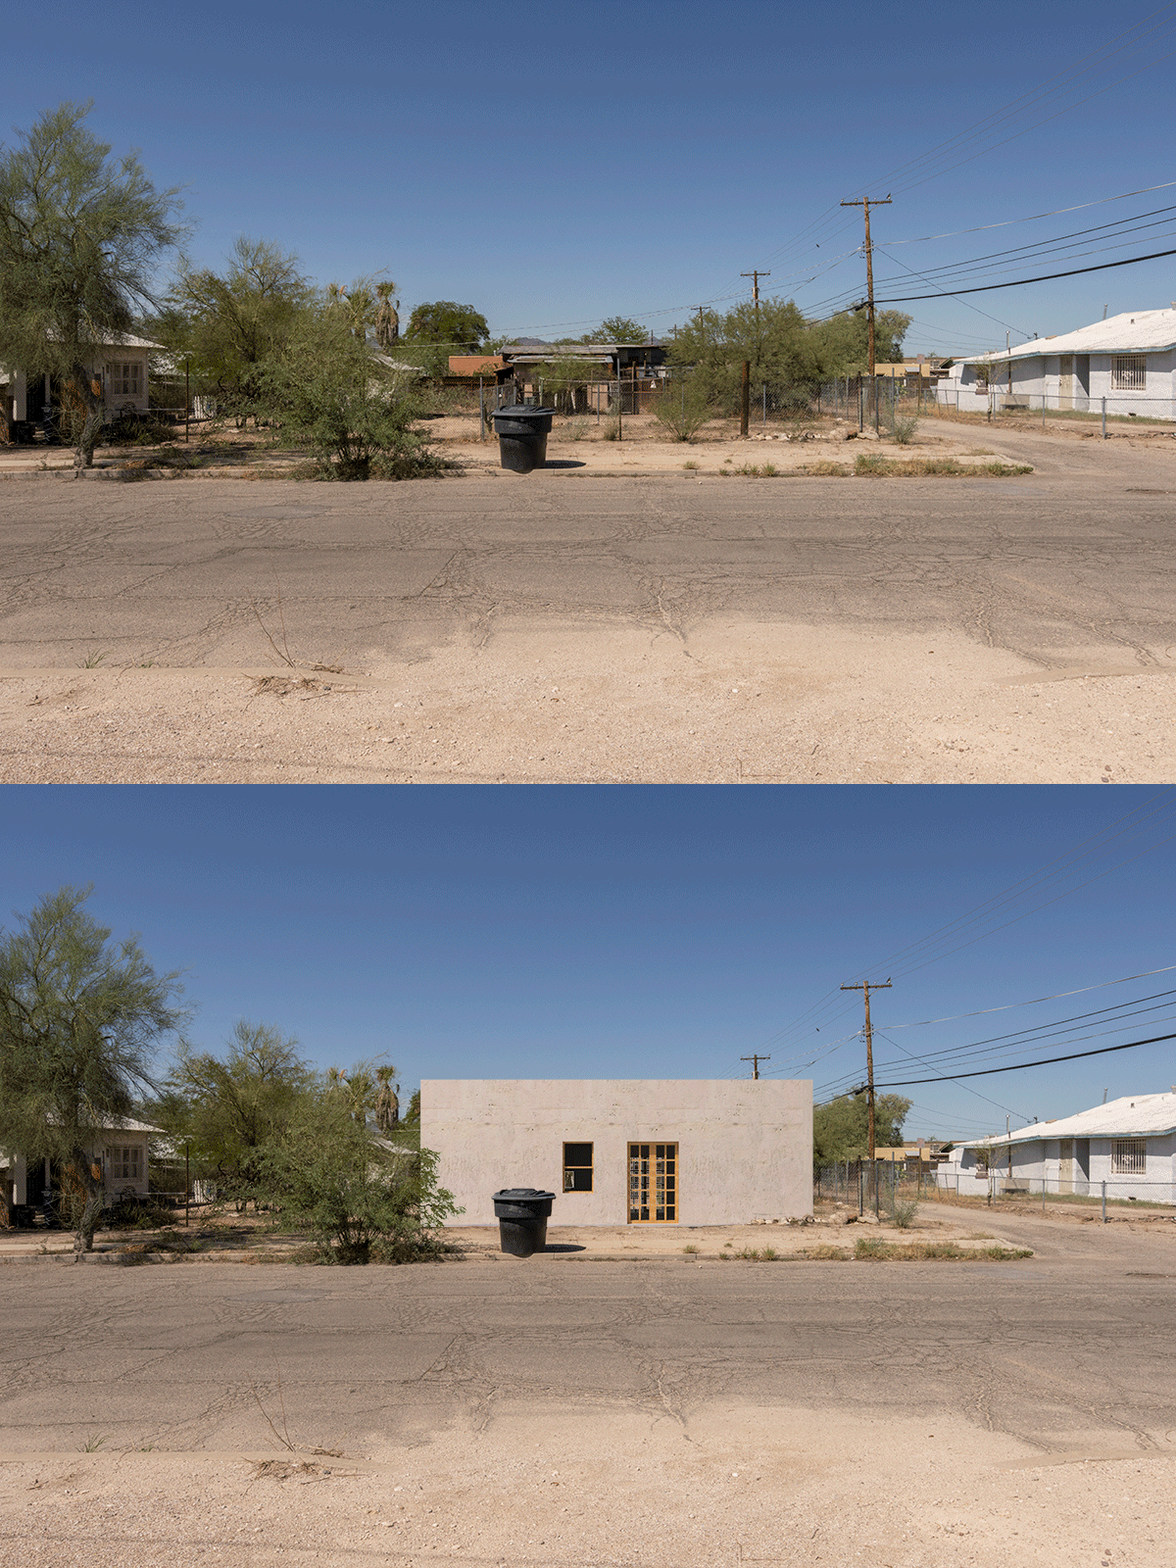
Thick mass walls and exposed wooden ceilings defined early Tucson construction and have been applied to our ADU with current materials available within the city today. This house has been designed to fit into the majority of lots with ranging levels of engagement or privacy with the existing residence. The house can be facing the existing residence to create a courtyard-style typology, the street on a corner lot facing the neighborhood, or creating a new life in alleyways. From the exterior, this house feels in place within the historic fabric of Tucson. In the interior, however, we have stripped the building down to the least steps and processes in a building and embraced standardized materials. The interior will feel like Tucson but in a new and contemporary way. In the 1800’s the available materials were mesquite beams, saguaro ribs, and adobe. Currently, the most available materials are Insulated Concrete Foam Blocks (ICF), dimensional fir lumber, pine plywood, and concrete. This design embraces the new materials accepting them for what they are to create a fresh feeling of an old aesthetic: Heavy walls, solid floor, and wood ceiling.
Understanding sustainable architecture as such that is responding to its natural environment, we designed the strategic placement of windows to maximize the quality of light but limit the sun exposure, a sloped roof to most easily collect the rainwater and route to ground basins, and an electrified house with the opportunity to run fully on solar. Our intention is a house built sustainably, made to last generations, and balancing a low impact during construction as well as through the lifespan of the structure.
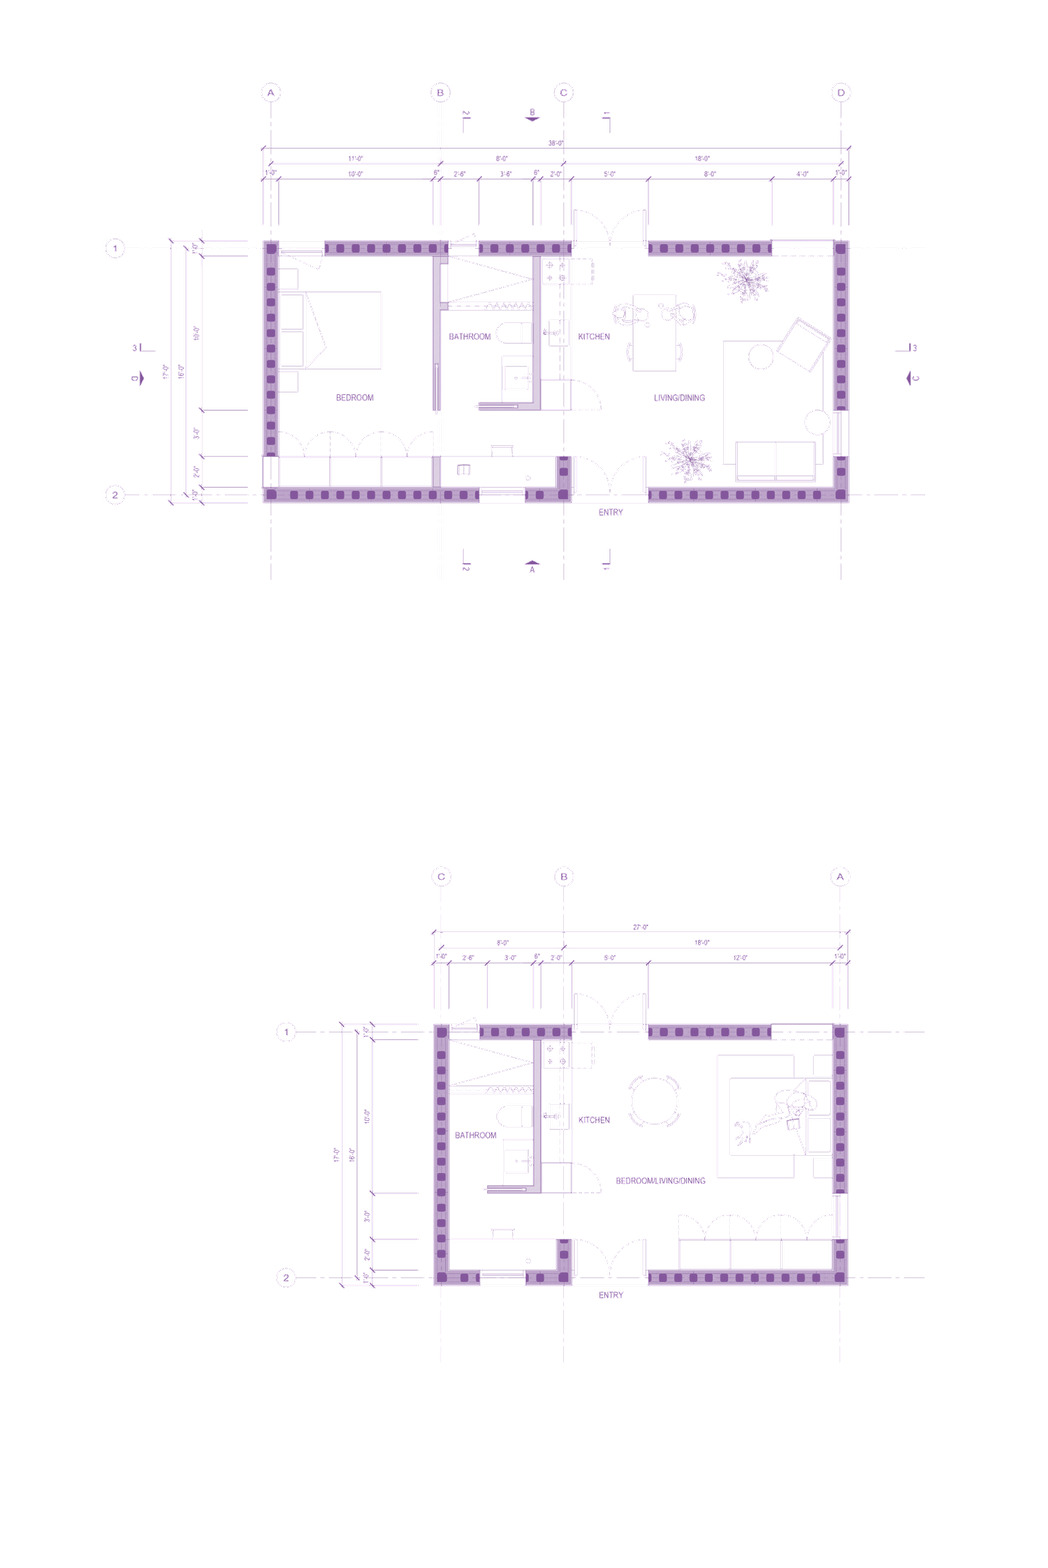
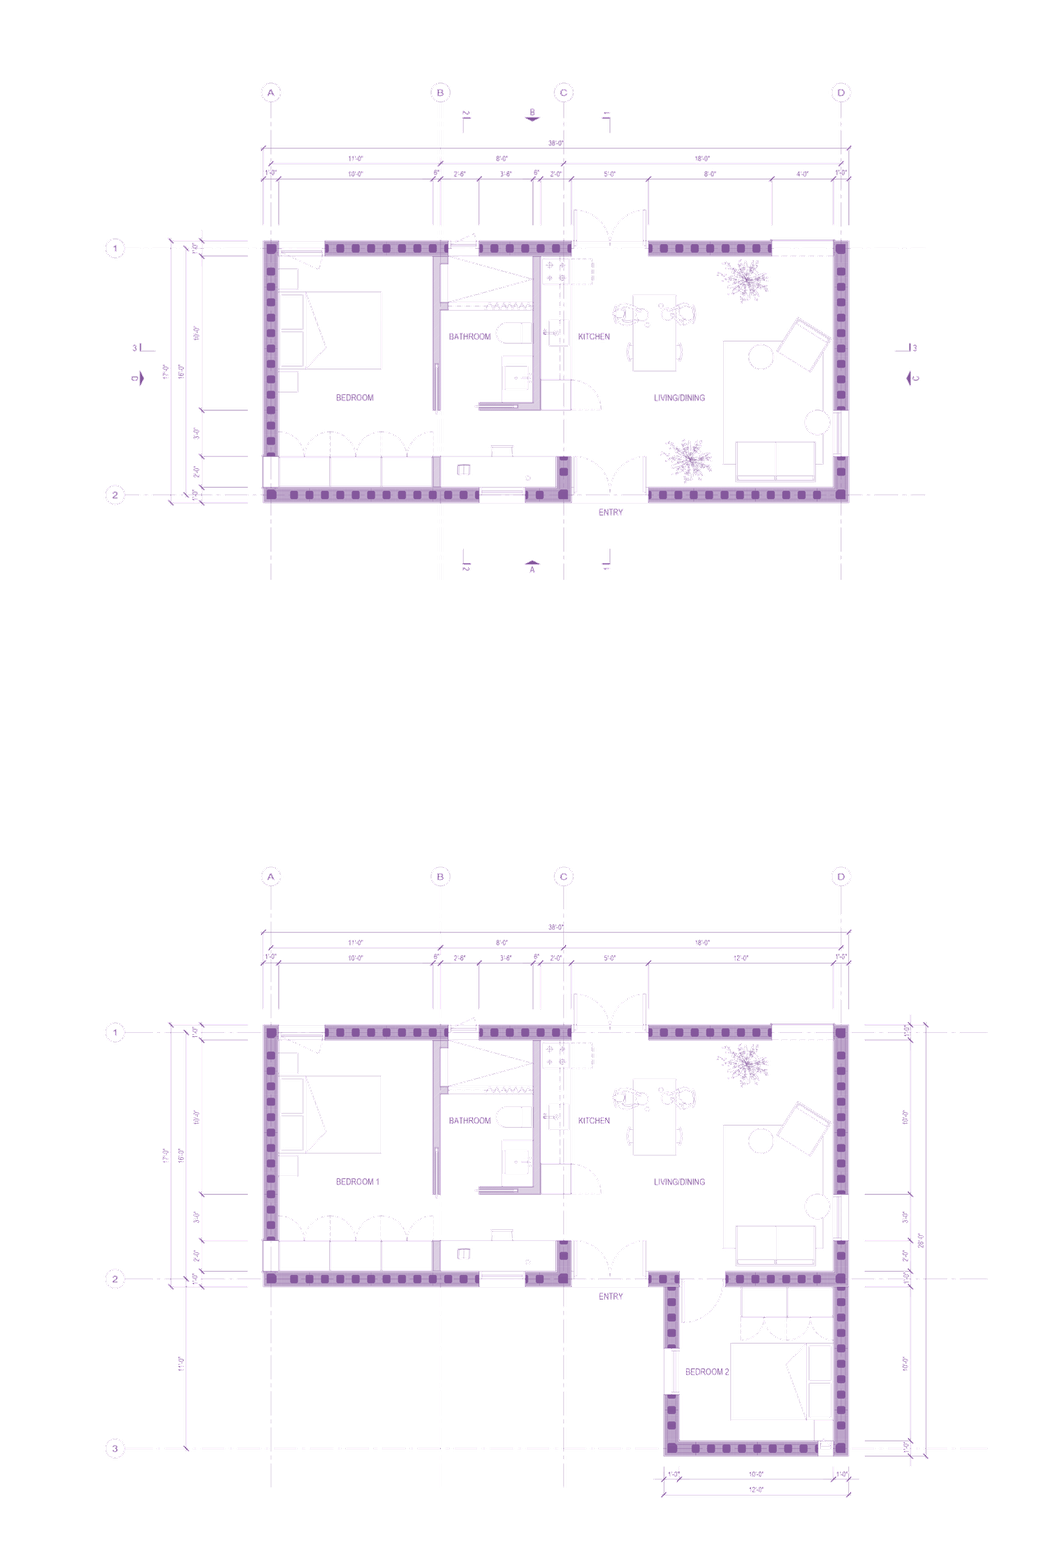
We have tried and tested building in Tucson and our ultimate affordability/quality/ease of building comes from self-building with Insulated Concrete Foam (ICF), specifically the locally produced Mikey Block. We created a scalable plan with our ICF grid (everything on 1’x1’ dimensions) with the opportunity to expand modularly over time from a 460sqft studio to a 650sqft 1 bed/1bath to a 780sqft 2 bed/1 bath, this design offers flexibility and adaptability. Either the studio or the one-bedroom has the ability to be scaled up in the future. Framing doorways and cladding in insulation at points of future openings allows for a seamless building and an easy expansion as owners change family size, are able to save money, or have more equity in a home.
Our total design is based on what can most easily be built in part or full by a homeowner. We would want the full process to be accessible and have chosen all processes to be as few and as easy as possible. However, a homeowner can subcontract any portion of the house or the full construction.
2.
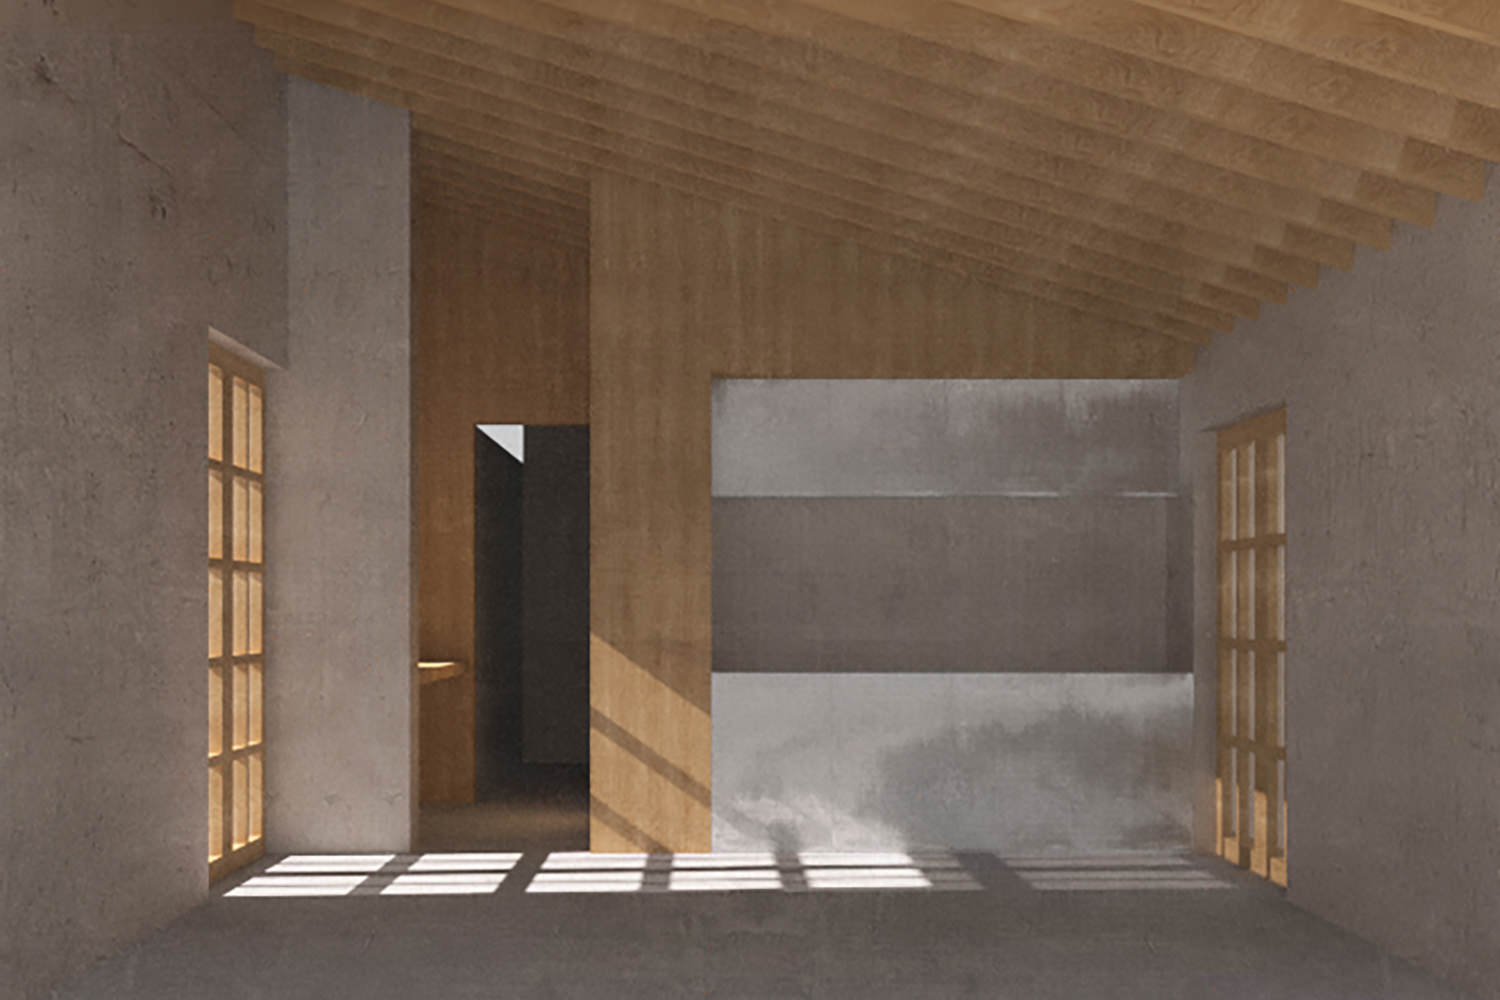
Above - The ADU was planned and measured for either custom cabinetry, salvaged, or use of the IKEA kitchen system. If IKEA, we recommend 24 inch cabinets with the panel ready refrigerator and 24” wall oven with a 24” or smaller induction burner. For cabinet fronts, we recommend the stainless steel drawer fronts for lower and upper cabinets. We recommend locally fabricating a 1/4 inch stainless steel counter. Backsplash could remain a waterproof plywood treatment over the pine plywood, or clad in a thin sheet of stainless steel. The Refrigerator cabinet we recommend cladding with 3/4” pine plywood.
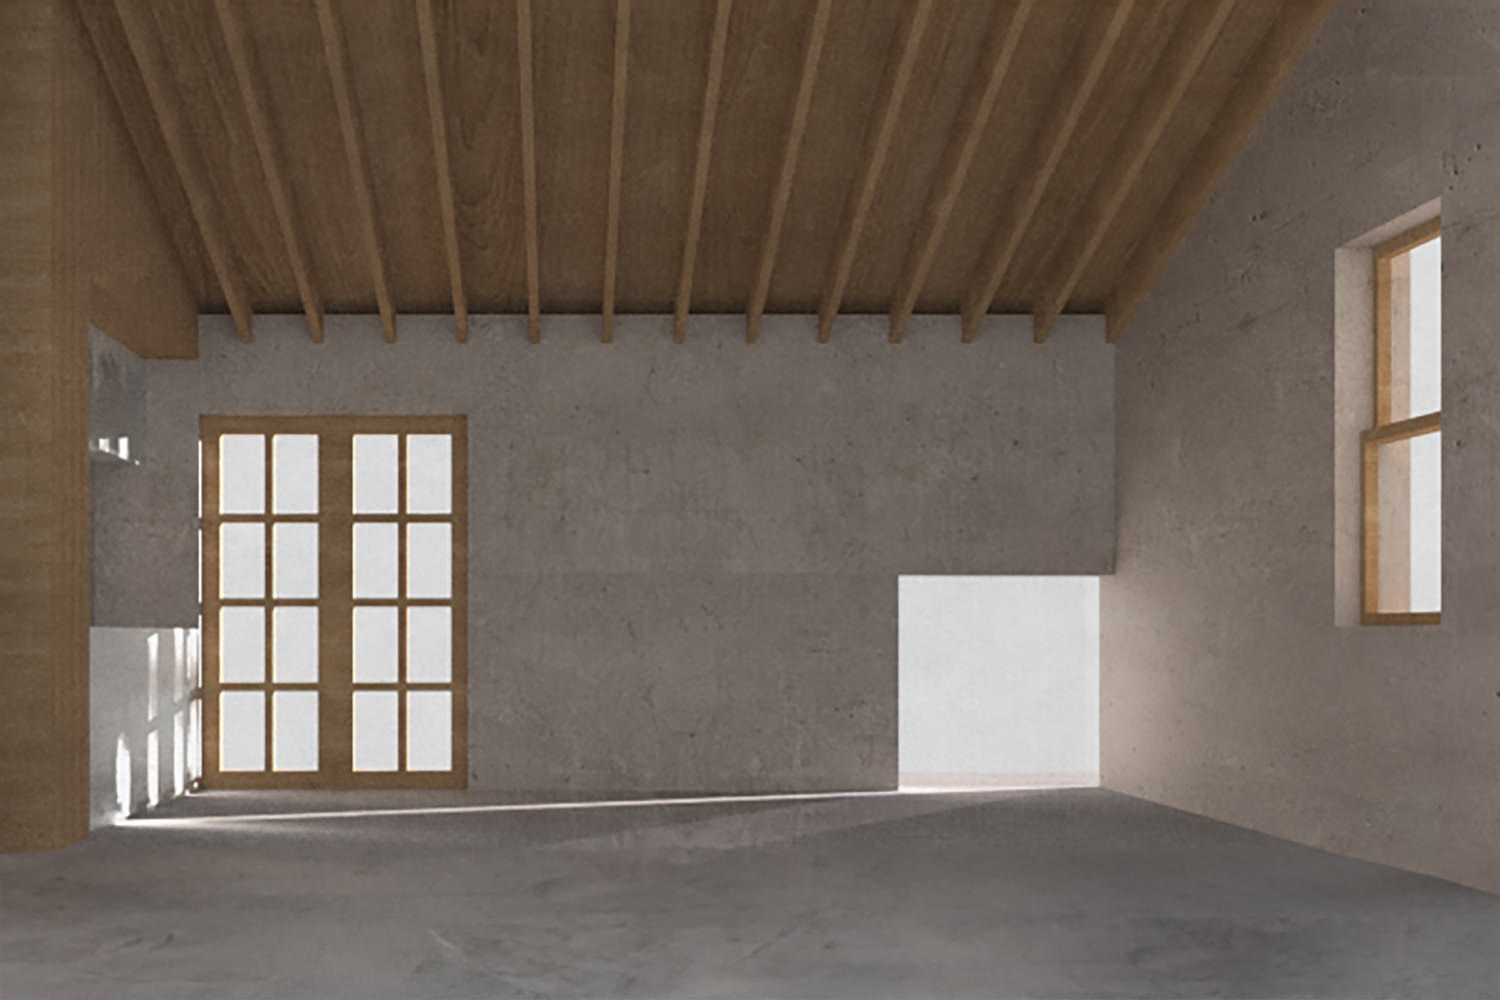
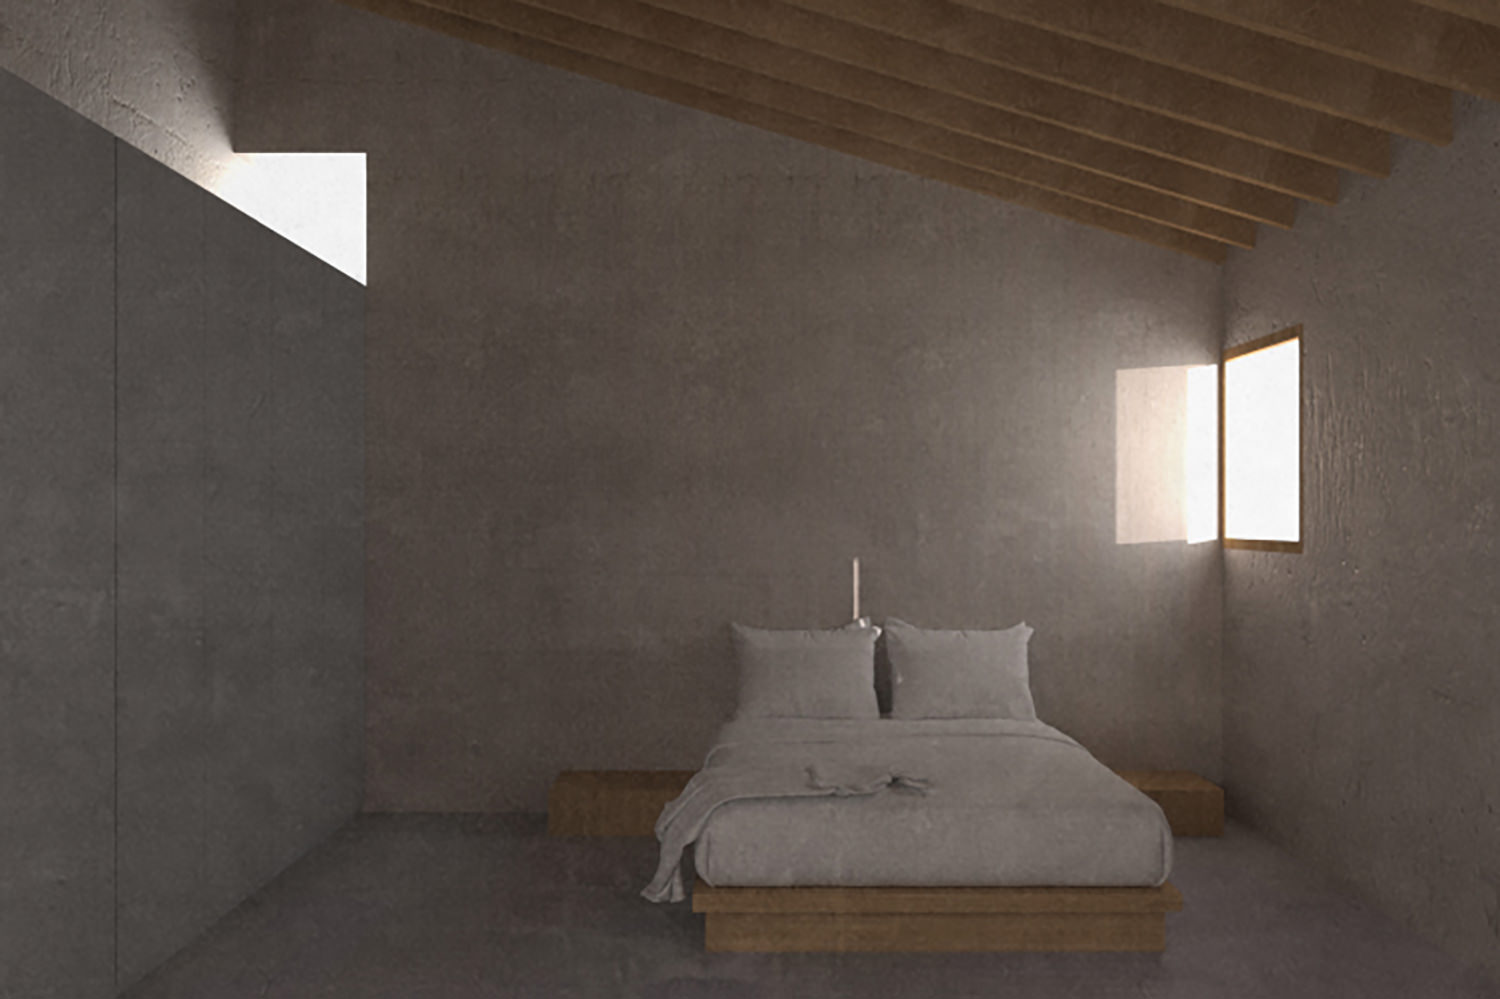
Above - The ADU was planned and measured for either custom cabinetry, salvaged, or use three of the IKEA Pax Wardrobe frame (white, 39 3/8x22 7/8x92 7/8”).
3.
1 Bed / 1 Bath Floor Plan (650sf):

Front and Back Elevations:

Side Elevations:

Sections:

4.
Studio Alternate (459sf):
5.
2 Bed / 1 Bath Alternate (778sf):
6.
Materials, Composition, & Process:


1.
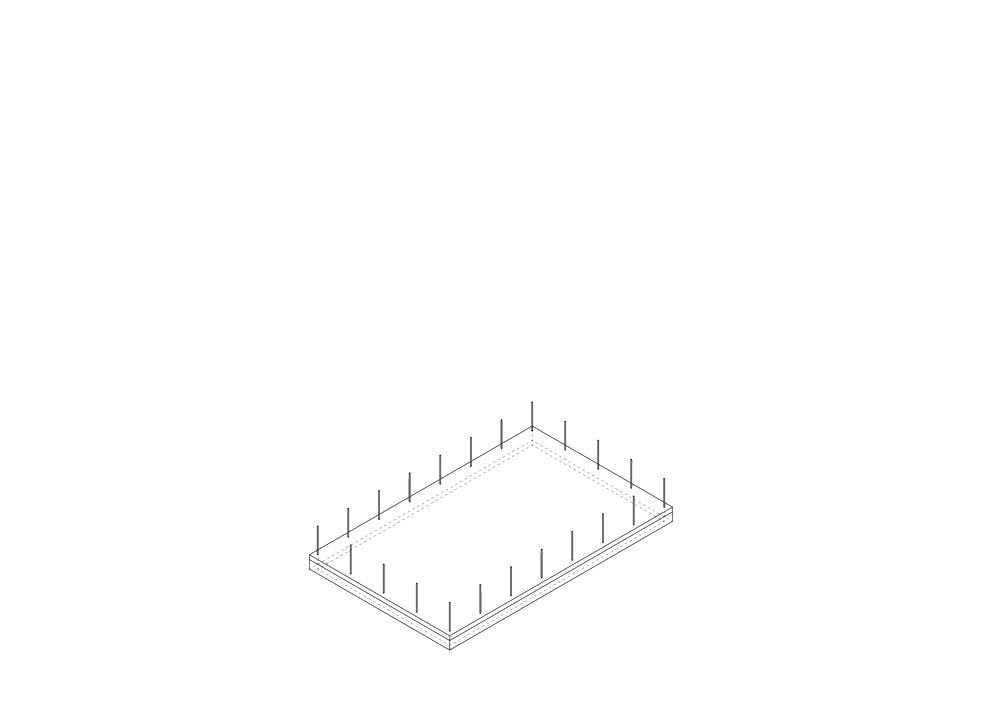
Set sewer/drain pipes. (If using gray water for the shower, plan for the shower drain to join the sewer main out from under the future slab. Plan for a convenient and well-placed diverter valve.)
Prepare the foundation with compacted earth and gravel.
Set rebar.
Subterranean Termite Treatment
Tie grounding wire to rebar.
* Pre-Slab Inspection
2.
Pour Slab and Allow to cure for approximately 30 days
After curing set a protective layer over the concrete slab on the interior floor surface.
3.
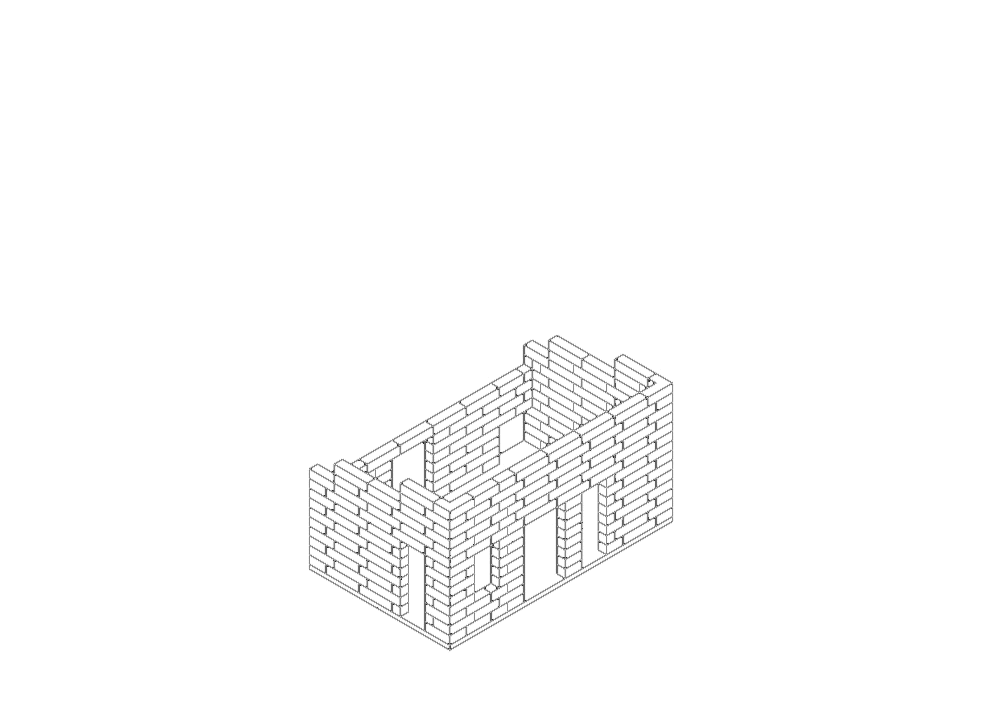
Stack Mikey Block or other Insulated Concrete Foam (ICF) according to manufacturer instructions.
Run a horizontal continuous rebar at every 4 feet of vertical elevation gain. Rebar Benders are a simple tool available at local hardware stores. Use an angle grinder with a metal cutoff to cut at openings.
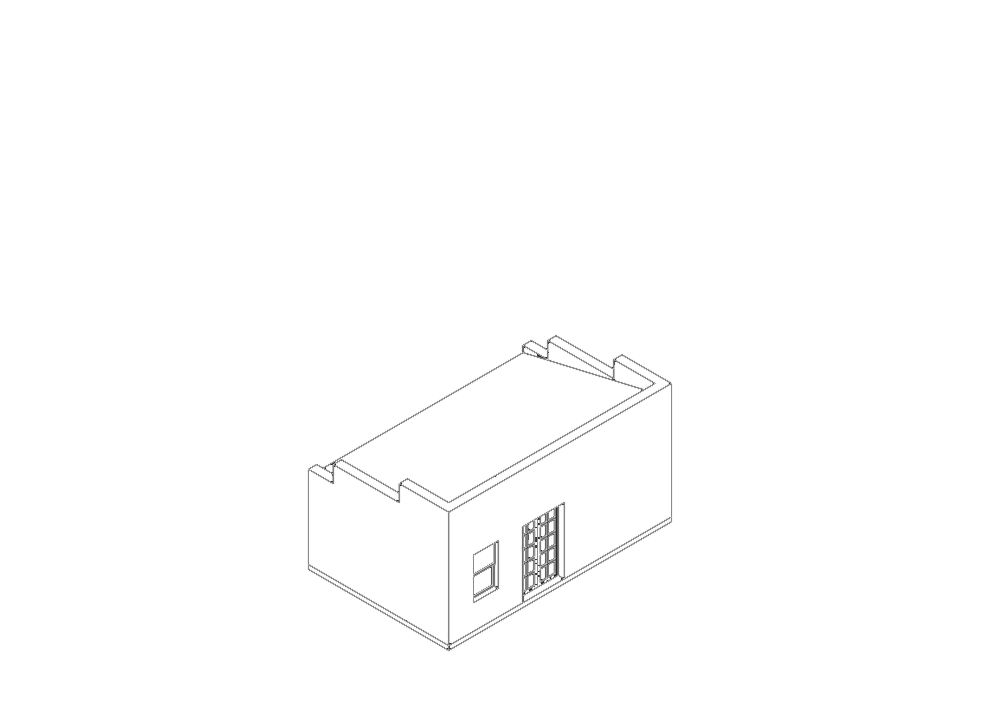
Pictured is the studio variation with planned one and two-bedroom expansion points left open for a simple future modification.
4.
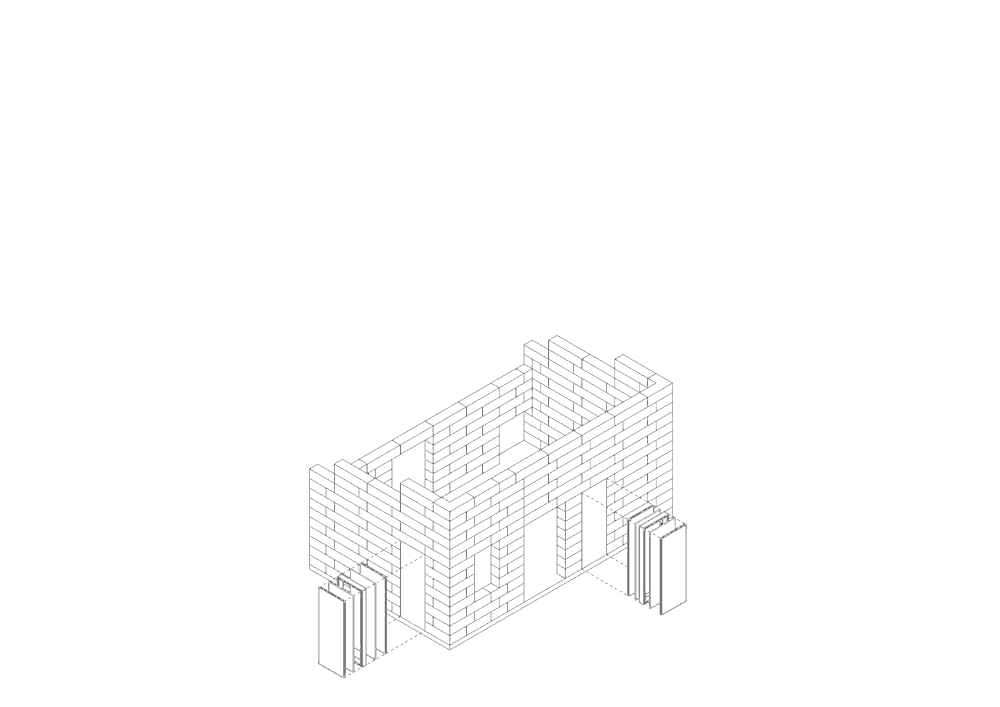
If openings are left open for future expansion, Fill the future doorway openings. Frame the opening as a standard 2x6 wall framing assembly set to center. On both faces of the 2x6 framed wall, clad with OSB, weatherproofing sheet, then use a foam glue to attach a 2” rigid foam insulation sheet. This will give you a matching 11” wall thickness assembly that can be easily cut and removed for a simpler future expansion.
5.
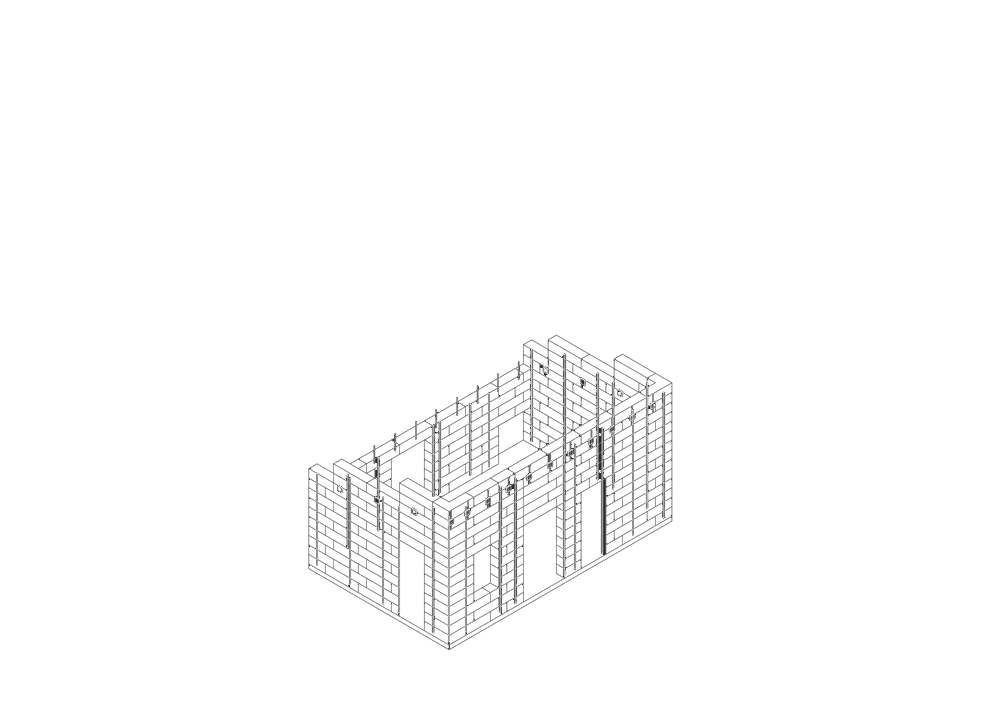
Attach ledger hangers at ledger height (Olski Plate if using the Mikey Block System). On the load-bearing front entry side, set ledger hangers every 2 feet, on the non-load-bearing sides, set ledger hangers every 4 feet.
Cut rebar 1 inch short of finished height from the top of the slab to the top of the wall. Slide rebar down into the block every 4 feet and on both sides of each opening.
Frame each opening to prepare for concrete fill.
* Pre-Grout Inspection
A concrete truck and a pump truck will arrive and fill the top of each block. Use vibration to ensure the concrete is filling all voids.
6.
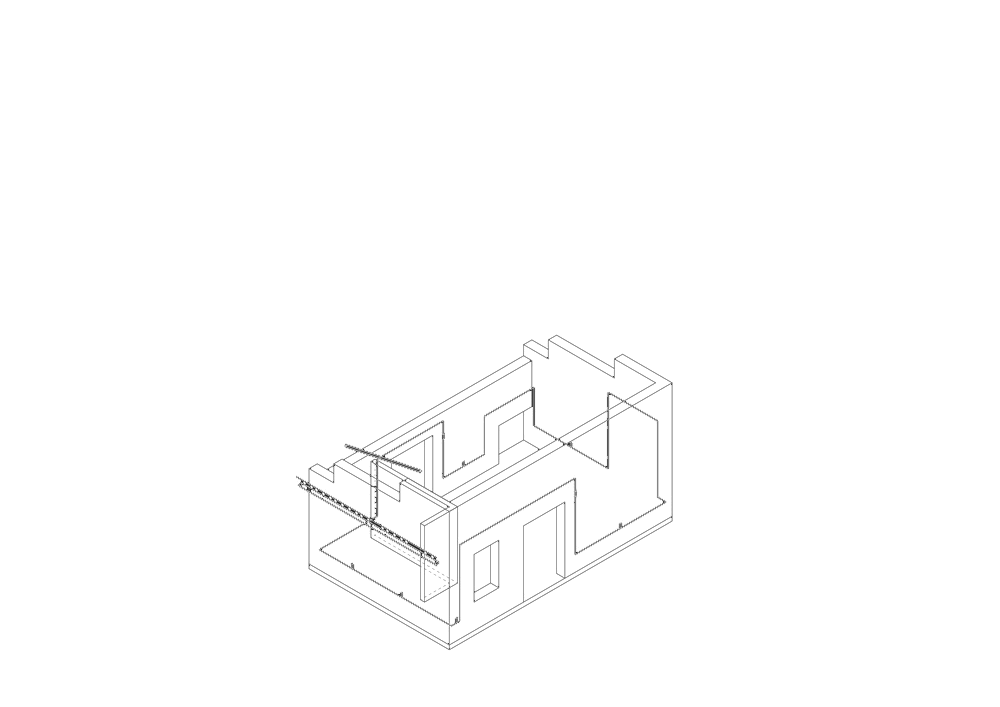
Set a 3” PVC pipe section at approximately 4% slanted down towards the exterior at the location of the future framed wall. Align this in the foam section of the ICF block. This pipe is for running the future mini-split unit drain and refrigerant lines.
Run preliminary copper tubing main supply penetrations for both hot and cold water.
Embed electric wiring and switch/outlet boxes inside of the ICF block. Backfill with mortar or spray foam.
7.
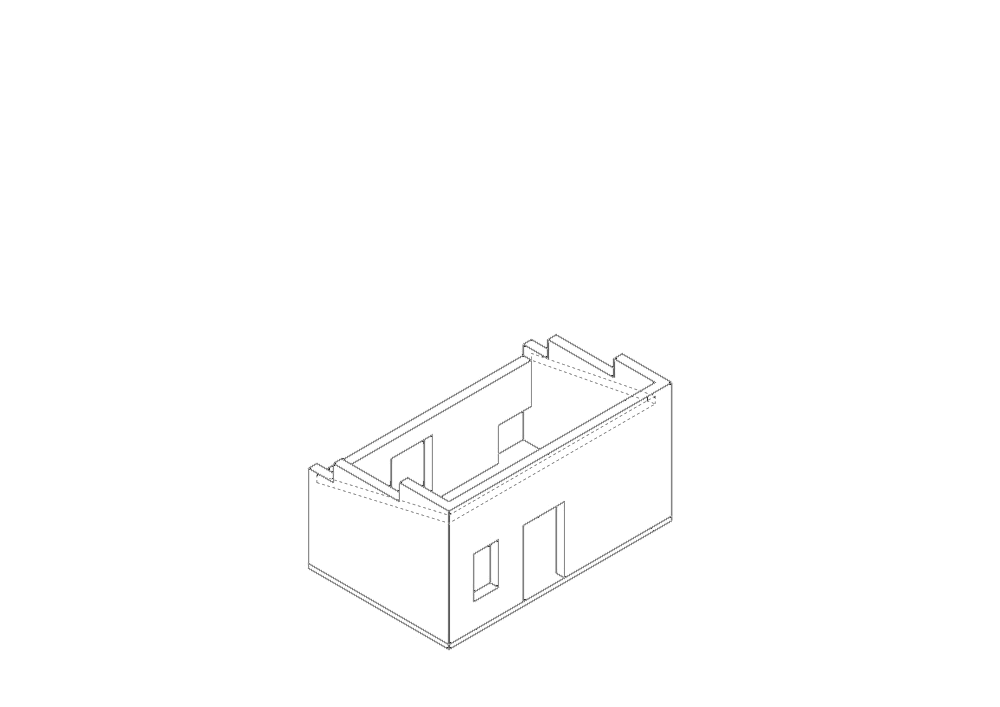
Install stucco stop/flashing at the finished roof grade and 4 inches above to leave a 4-inch gap of bare ICF for applying waterproofing membrane seamlessly against the ICF block. Also, install a stucco stop directly above the concrete slab.
Stucco/plaster all surfaces both interior and exterior. (Optionally, you may use drywall for interiors for a more traditional finish, however, a single crew plastering interior and exterior would reduce the number of crews and processes.)
*If using an optional exterior mounted Lewerentz window detail for the low living window or above the cabinets in the 1-bed / 2-bed variations, install stucco stop on the ICF surface (not concrete slab) around the future placement of the window with a 1/2 inch gap. After installing the window, fill that gap with window silicone caulk for waterproofing.
8.
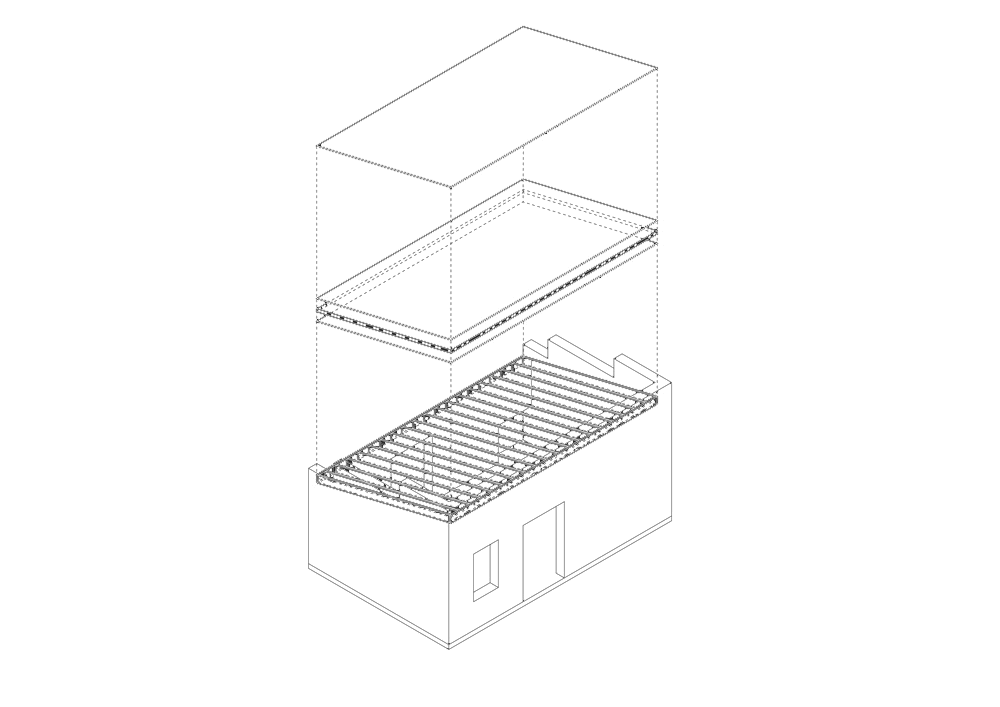
Fix 2 x 10 ledger beams and a sill plate to anchors and bolts. Frame 2 x 10 ceiling joists with standard framing detail including joist hangers against the ledger and hurricane clips connecting to the sill plate.
Attach 3/4 inch architectural grade pine plywood onto ceiling joists. (Optionally you can sand and treat the plywood before installation or at the finish stages of the house)
Use foam insulation glue to attach 4 inches of rigid foam insulation to the pine plywood.
Use foam insulation glue to attach a layer of 1/2-inch OSB decking onto the foam insulation layer.
Apply roof elastomeric waterproofing layer.
9.
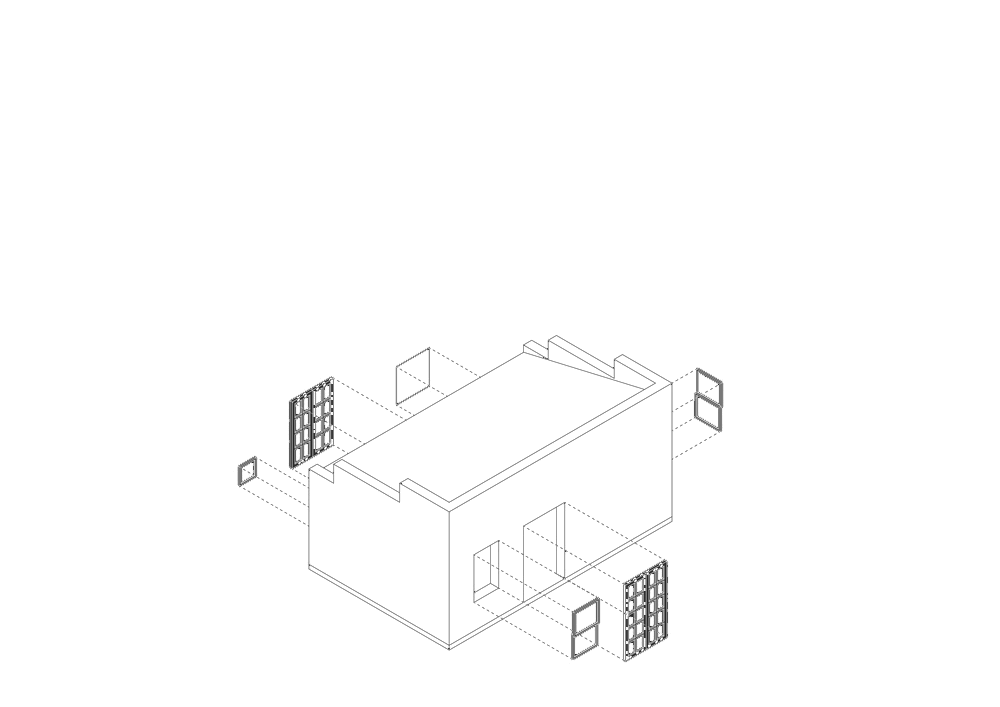
Install windows and doors.
10.
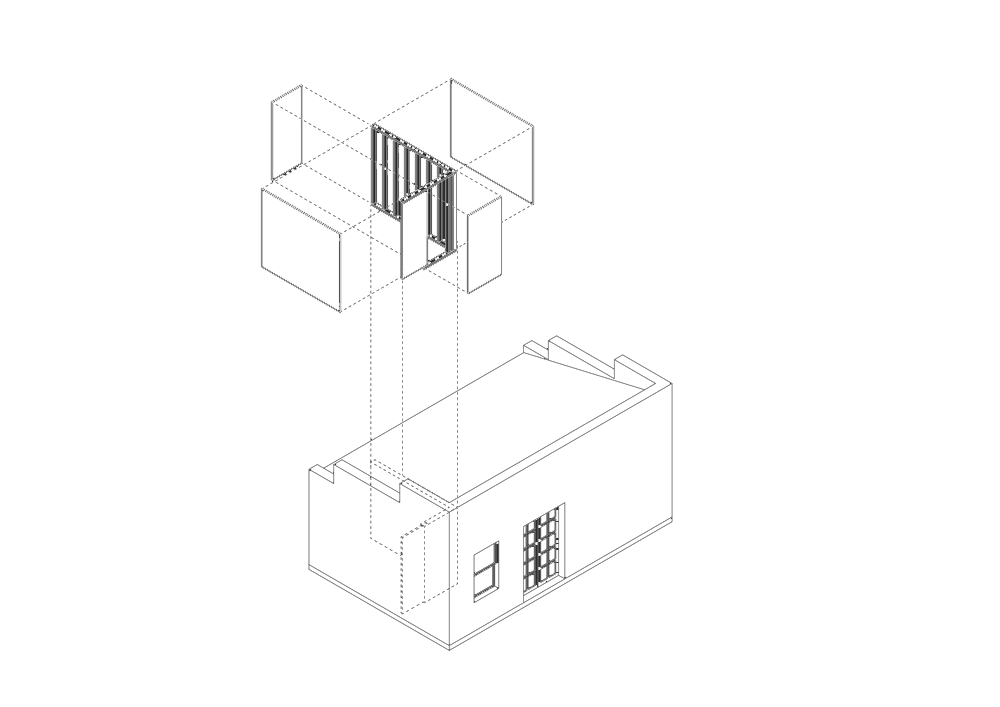
Frame with standard framing for the bathroom/kitchen dividing wall.
Run electric through framed walls for both the kitchen and bathroom.
Install plumbing in framed walls for both kitchen and bathroom.
* Electric & Plumbing Inspections
Clad the wall with pine plywood and install the pine plywood pocket door.
11.
Finishes:
Bathroom finish
Cabinetry (measured for use with IKEA standard kitchen boxes and wardrobes). Alternatively, feel free to use salvaged or custom.
Seal Concrete Floors
* Final Inspections
*Install Rain Gutters and run water into rainwater swells or into a rain collection tank. Use the city storm-water management classes and reimbursement.
*Install Solar panels.
